If you’ve always wanted to try your hand at quilting but don’t have a specialized quilting machine, don’t worry! It is possible to create beautiful quilts using just a regular sewing machine. In this article, you will discover some practical tips and techniques that will help you successfully quilt on your regular sewing machine. From choosing the right needles and threads to mastering the art of free-motion quilting, you’ll be amazed at what you can achieve with the machine you already have. Get ready to unlock your quilting potential and bring your creative vision to life!
Understanding Quilting Basics
Quilting is a timeless craft that has been passed down through generations, and it involves stitching together layers of fabric to create beautiful and functional pieces. If you have ever admired a quilt and wondered how it was made, you’re in the right place! In this article, we will guide you through the basics of quilting, from differentiating it from regular sewing to exploring various quilting techniques. By the end, you will have a solid foundation to start your quilting journey.
Differentiating Quilting from Regular Sewing
While sewing and quilting are related crafts, there are distinct differences between the two. Sewing typically refers to the process of joining pieces of fabric together to create clothing, accessories, or home decor items. On the other hand, quilting focuses specifically on stitching together layers of fabric to create a quilt. Quilting often involves intricate designs, patterns, and textures, making it a unique form of fabric art.
Exploring Various Quilting Techniques
Quilting offers a wide range of techniques to achieve different effects and styles. Some popular techniques include:
-
Traditional Piecing: This involves sewing together individual fabric pieces, called patches, to create blocks which are then assembled to form the quilt top.
-
Appliqué: Appliqué is the process of attaching cut-out fabric shapes onto a background fabric. This technique allows for endless design possibilities, as you can create intricate motifs or even pictorial scenes.
-
English Paper Piecing: In this technique, fabric shapes are cut, wrapped around paper templates, and then hand-stitched together. This method is often used for smaller projects or decorative elements within a quilt.
-
Foundation Paper Piecing: With foundation paper piecing, fabric pieces are sewn onto a paper or fabric foundation, following a printed pattern. This method is perfect for achieving precise and complex designs.
-
Quilt-As-You-Go: Quilt-as-you-go is a technique where you quilt individual fabric sections before joining them together. This method is especially useful for larger projects, as it eases the burden of maneuvering a large quilt through a sewing machine.
By exploring different quilting techniques, you can find the ones that resonate with your personal style and bring your creative ideas to life.
Learning About Quilting Tools and Materials
Before diving into quilting, it is essential to familiarize yourself with the tools and materials you will need. Some common quilting tools include:
-
Sewing Machine: While it is possible to quilt by hand, using a sewing machine can make the process faster and more efficient. It is crucial to have a sewing machine suitable for quilting, preferably one with adjustable speed and stitch options.
-
Cutting Tools: Precision is key in quilting, so investing in good-quality cutting tools is essential. A rotary cutter, quilting ruler, and self-healing cutting mat are indispensable for accurate and consistent fabric cutting.
-
Needles and Thread: Choosing the right needles and thread is crucial for successful quilting. Quilting needles are shorter and sharper, while quilting threads are thicker and stronger to withstand the quilting process.
-
Quilting Foot: A quilting foot, also known as a walking foot, is an attachment for your sewing machine that helps to evenly feed the fabric layers through the machine. This foot is especially useful when quilting through multiple layers.
By having the right tools and materials at your disposal, you will be equipped to tackle any quilting project with confidence.
Preparing Your Sewing Machine for Quilting
Once you have gathered your quilting tools, it’s important to ensure that your sewing machine is properly prepared for the quilting process. Taking the time to check your machine’s suitability, transferring the necessary settings, and assembling the quilting foot will ensure smooth and successful quilting every time.
Checking Your Sewing Machine’s Suitability
Before starting your quilting journey, it is crucial to ensure that your sewing machine is suitable for quilting. While most modern sewing machines can handle quilting projects, certain features can make the process easier. Look for a machine with a large throat space, which is the area between the needle and the body of the machine. A larger throat space will allow for more maneuverability when quilting larger projects.
Transferring the Settings for Quilting, If Needed
Quilting often requires different settings on your sewing machine compared to regular sewing. Take a moment to familiarize yourself with the settings necessary for quilting and make any adjustments as needed. This may include adjusting the stitch length, tension, or even the presser foot pressure. Consult your sewing machine’s manual for specific instructions on transferring the settings.
Assembling the Quilting Foot
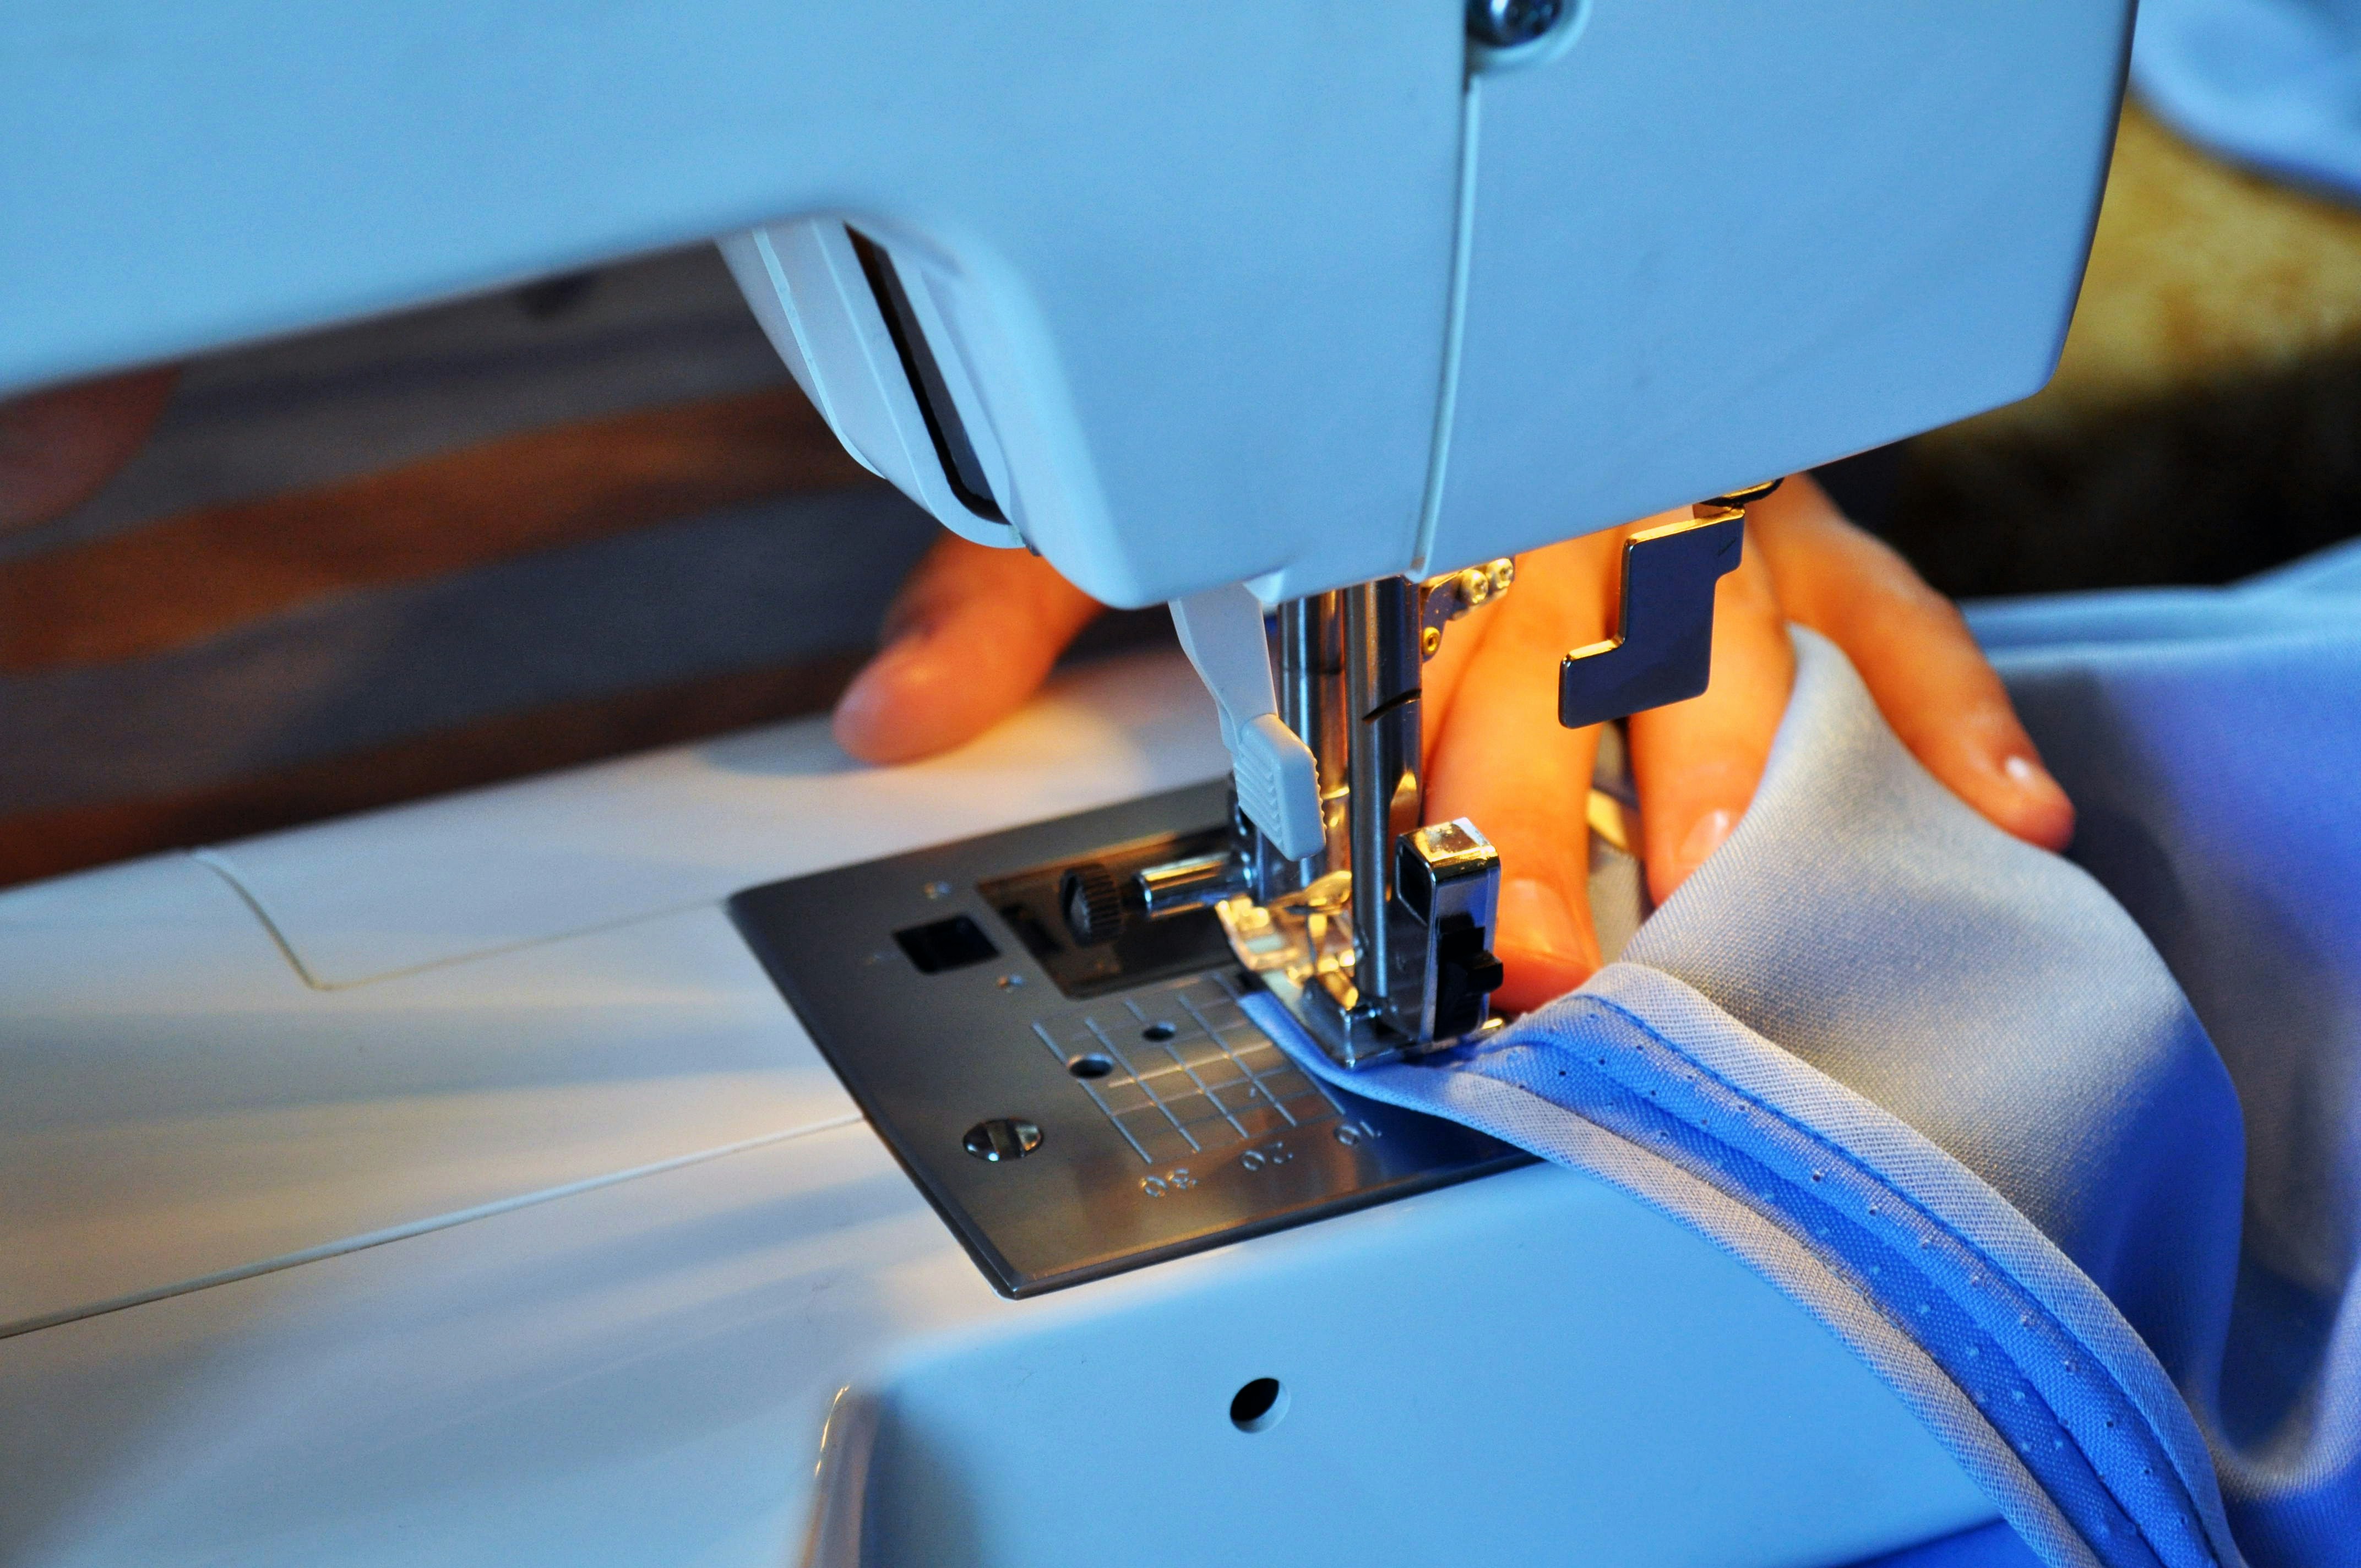
The quilting foot is a valuable tool that will help you achieve even stitches and prevent fabric layers from shifting as you sew. To assemble the quilting foot, start by removing the regular presser foot from your sewing machine. Next, attach the quilting foot by aligning the foot’s forked end with the machine’s needle clamp and lowering the foot into place. Ensure that the foot is securely attached before starting to quilt.
By properly preparing your sewing machine for quilting, you will set yourself up for success and minimize any potential issues that may arise during the quilting process.
Choosing the Right Thread and Needle
When it comes to quilting, selecting the appropriate thread and needle is vital for achieving a professional finish and ensuring the longevity of your quilt. Understanding the importance of the right thread and needle, familiarizing yourself with the types of needles ideal for quilting, and discovering the ideal thread types will help you make informed decisions for your quilting projects.
Understanding the Importance of the Right Thread and Needle
Using the right thread and needle ensures that your stitches securely hold the layers of fabric together and withstand the test of time. Quilting threads are usually thicker and stronger than regular sewing threads, as they need to endure the stress of being repeatedly pierced by the needle without breaking. Similarly, quilting needles are shorter and sharper, allowing for easier penetration through multiple layers of fabric and batting.
Types of Needles Ideal for Quilting
Quilting needles come in different sizes and types, each serving a specific purpose. Universal needles are a popular choice for general quilting, as they work well with a variety of fabrics. However, if you’re primarily working with tightly woven fabrics, a sharp needle may be more suitable for achieving precise stitches. Similarly, if you’re quilting through layers of denim or upholstery fabric, a heavy-duty needle will be necessary to prevent needle damage and breakage.
Ideal Thread Types for Quilting
When selecting thread for quilting, consider the fabric you’re working with, the desired visual impact, and the quilting technique you plan to use. Cotton thread is a common choice for quilting, as it blends seamlessly with cotton fabrics and creates a soft and natural-looking finish. Polyester threads are stronger and offer a wider range of colors, making them versatile and suitable for a variety of projects. Silk threads are prized for their lustrous appearance but should be used with caution, as they are more delicate compared to cotton or polyester threads.
By understanding the importance of thread and needle selection, you will be equipped to choose the right tools for your quilting projects, resulting in beautifully stitched and durable quilts.
Planning Your Quilt
Now that you’re well-versed in the essential quilting techniques and have prepared your sewing machine, it’s time to dive into the planning stage. Planning your quilt involves sketching your design, calculating material requirements, and choosing the perfect fabric colors and patterns to bring your vision to life.
Sketching Your Quilt Design
Before cutting into your fabrics, it’s crucial to have a clear plan for your quilt design. Take the time to sketch out your ideas on paper, experimenting with different block layouts, borders, and overall composition. Consider the scale of the quilt, the desired level of complexity, and any specific motifs or patterns you want to incorporate. This preliminary sketch will serve as your roadmap throughout the quilting process.
Calculating Material Requirements
To ensure you have enough fabric for your quilt, it’s important to calculate the material requirements accurately. Start by determining the finished size of your quilt, accounting for any desired borders or sashing. Consult quilting charts or online resources for fabric estimates based on different block sizes or quilt dimensions. Add extra fabric for seam allowances, mistakes, and potential fabric shrinkage during pre-washing. By carefully calculating your material requirements, you can avoid running out of fabric mid-project.
Choosing Your Fabric Colors and Patterns
Selecting the right fabric is an exciting part of quilt planning. Consider the overall aesthetic you want to achieve, whether it be traditional, modern, or eclectic. Pay attention to color theory and choose shades that complement and harmonize with each other. Experiment with patterns, mixing and matching solids, prints, or even textured fabrics to add visual interest to your quilt. Don’t be afraid to let your personal style shine through in your fabric choices!
By investing time in the planning phase, you will lay a solid foundation for your quilt project, ensuring that you have a clear vision, sufficient materials, and a harmonious color scheme.
Preparing Your Fabric
With your quilt design sketched out and fabric chosen, it’s time to prepare your fabric for the actual construction process. Properly washing the fabric, ironing out wrinkles, and cutting it based on your design will contribute to the overall success of your quilt.
Washing Fabric and Why It Matters
It’s essential to wash your fabric before starting the quilting process, as it removes any manufacturing chemicals, dyes, or finishes that may affect the quality of your quilt. One major reason for pre-washing is to prevent fabric shrinkage. Different fabrics have different shrinkage rates, and washing them beforehand ensures that any shrinkage occurs before the quilt is assembled. Additionally, pre-washing helps prevent the bleeding of colors and ensures that the finished quilt can be washed without any surprises.
Ironing the Fabric
Ironing your fabric before cutting is a crucial step for achieving accurate and precise quilt blocks. Use a steam iron set to the appropriate temperature for the specific fabric you’re working with. Ironing not only removes any wrinkles but also helps to ensure that the fabrics lie flat and align properly when piecing them together. Take the time to press each fabric piece carefully, paying attention to the direction of seams and maintaining their integrity.
Cutting Your Fabric Based on Your Design
With your fabrics pre-washed and ironed, it’s time to cut them according to your quilt design. Refer to your previously sketched design for specific measurements and shapes. Utilize a rotary cutter, quilting ruler, and self-healing cutting mat to accurately cut your fabrics into the desired pieces. Take your time to ensure clean and precise cuts, as these will greatly impact the overall appearance of your finished quilt.
By properly preparing your fabric, you will set yourself up for a successful quilting experience by eliminating potential issues such as shrinkage, bleeding colors, or misaligned blocks.
Creating Your Quilt Sandwich
The quilt sandwich refers to the layered structure of a quilt, consisting of the quilt top, batting, and backing fabric. Understanding the components of a quilt sandwich, learning how to layer them properly, and basting the layers together are crucial steps in the quilting process.
Defining What a Quilt Sandwich Is
In quilting lingo, a quilt sandwich is the combination of three layers: the quilt top, batting, and backing fabric. The quilt top is the visible layer that showcases your piecing, appliqué, or other design elements. The batting is the layer of insulation or padding that provides loft, warmth, and texture to the quilt. Lastly, the backing fabric is the fabric that forms the back of the quilt, often chosen to complement the overall design and style. Properly layering these components is essential for a well-structured quilt.
Layering Your Quilt Sandwich
To create your quilt sandwich, start by laying the backing fabric right side down on a large flat surface. Smooth out any wrinkles or folds, ensuring the fabric is taut and flat. Next, place the batting on top of the backing fabric, following its shape and size. Smooth out any wrinkles in the batting as well. Finally, position the quilt top, right side up, on top of the batting. Align the edges of all three layers and secure them in place using quilting pins or adhesive spray designed for quilting.
Basting Your Quilt Sandwich
Once your layers are properly aligned and secured, it’s time to baste them together to prevent shifting during the quilting process. Basting is the temporary stitching that holds the layers in place until the final quilting stitches are added. There are several basting methods to choose from, including hand basting, using safety pins, or using specialty quilting tools such as basting sprays or temporary adhesive tapes. Select the method that works best for you, ensuring that your layers remain flat and smooth.
By understanding the importance of a well-layered quilt sandwich and mastering the techniques of layering and basting, you will lay a solid foundation for the quilting process and achieve beautiful and even stitching in your finished quilt.

Sewing Your Quilt Together
With your quilt sandwich prepared, it’s time to sew the layers together, turning your carefully planned design into a cohesive and functional quilt. Understanding and employing different quilting methods, such as stitch in the ditch and free motion quilting, and ensuring proper tension will contribute to the overall success of your quilting project.
Using Stitch in the Ditch Method
Stitching in the ditch is a traditional quilting method that involves sewing along the seams or “ditches” created by joining fabric pieces together. This method is often used to stabilize the quilt layers and provide framework for more intricate quilting designs. To stitch in the ditch, select a thread color that blends well with the fabric seams and use a straight stitch along the seams, aiming to stitch right on top or just beside the seam lines. Take your time and guide the quilt sandwich carefully under the needle to achieve even and straight stitches.
Employing Free Motion Quilting
Free motion quilting offers endless creative possibilities and allows you to add intricate designs, patterns, or motifs to your quilt top. With free motion quilting, you have the freedom to move the quilt sandwich freely under the machine’s needle, creating designs by guiding the fabric in any direction. To engage in free motion quilting, lower the feed dogs on your sewing machine or use a special darning foot, and select a thread color and design that complements your quilt. Practice on scrap fabric first to develop your technique and gain confidence before quilting on your actual project.
Checking for Proper Tension
Regardless of the quilting method you choose, it’s crucial to check and adjust your sewing machine’s tension to ensure even stitches. Proper tension results in balanced top and bottom stitches, with neither the bobbin thread nor the top thread showing too much on the opposite side. Refer to your sewing machine manual for instructions on how to adjust the tension and perform some test stitches on a scrap fabric to check if the tension settings need further tweaking. With proper tension, you will achieve beautifully stitched quilts that will withstand the test of time.
By mastering different quilting methods, understanding proper tension, and taking the time to ensure your quilting stitches are even and secure, your quilts will emerge as true works of art.
Finishing Your Quilt
As you approach the final stages of your quilting journey, it’s important to pay attention to the finishing touches that will elevate your quilt and ensure it withstands the test of time. Cleaning your quilt after sewing, adding the binding, and learning how to care for your finished quilt are essential steps in completing your quilting project.
Cleaning Your Quilt After Sewing
Once you have finished quilting, it’s important to clean your quilt to remove any oils, dirt, or stray threads that may have accumulated during the sewing process. While some quilts can be machine-washed, others may require more delicate handling. Follow the fabric care instructions provided with your quilt’s fabric to determine the best cleaning method. Hand-washing, spot cleaning, or professional cleaning may be necessary, depending on the fabrics used and the overall construction of your quilt. Always handle your quilt with care to prevent damage or distortion.
Adding the Binding
Adding a binding to your quilt is the finishing touch that not only enhances the appearance but also secures the edges and protects the quilt’s raw edges from fraying. The binding is a fabric strip that is attached to the raw edges of the quilt sandwich, enclosing them neatly. Start by cutting fabric strips on the bias or straight grain, depending on the desired binding width and fabric stretch. Sew the strips together to create a continuous binding strip, and then attach it to the quilt using a double-fold binding technique or other preferred methods. Take your time to ensure even stitching and mitred corners for a polished finish.
Caring for Your Finished Quilt
To ensure the longevity of your quilt, it’s important to care for it properly. Depending on the fabrics used and the complexity of the design, your quilt may require different levels of care. Some quilts can be safely machine-washed, while others may need to be spot cleaned or aired out. Avoid exposing your quilt to direct sunlight for extended periods, as it may cause fabric fading. Regularly check for loose threads or loose stitches and repair them promptly to prevent further damage. By following proper quilt care practices, you will be able to enjoy your quilt’s beauty and functionality for years to come.
By paying attention to the finishing details and treating your quilt with care, you will ensure that your quilting journey ends on a high note, resulting in a stunning and well-crafted quilt that will be cherished for generations.

Common Mistakes to Avoid
While quilting is a rewarding and enjoyable craft, it’s not without its challenges. By being aware of common mistakes and pitfalls, you can avoid them and achieve more successful results in your quilting projects.
Using the Wrong Type of Needle or Thread
Using the wrong type of needle or thread can lead to a variety of issues in quilting, ranging from uneven stitches to broken threads. Ensure that you choose needles specifically designed for quilting, as they are sharper and shorter, making it easier to quilt through multiple layers of fabric. Similarly, select appropriate thread thickness and composition to withstand the stress of quilting. Always test your needle and thread combinations on scrap fabric before quilting on your actual project.
Not Properly Securing Your Quilt Sandwich
Failure to properly secure your quilt sandwich can result in unwanted shifting of the layers during quilting, leading to puckering or uneven stitching. Take the time to baste your quilt layers together adequately, whether by hand basting, using safety pins, or utilizing basting sprays. Pay extra attention to securing the outer edges and central areas to minimize any potential movement. By securing your quilt sandwich properly, you will achieve even and beautifully quilted results.
Quilting Without a Clear Design
Quilting without a clear design plan can lead to haphazard results and a lack of cohesiveness in your finished quilt. Take the time to sketch out your quilt design and plan your quilting patterns accordingly. Whether you choose stitch in the ditch, free motion quilting, or other techniques, having a clear plan will guide your quilting stitches and ensure a harmonious overall effect. Consider practicing your quilting design on scrap fabric to refine your technique and gain confidence before working on your actual quilt.
By avoiding these common mistakes, you will set yourself up for a more successful and enjoyable quilting experience, resulting in beautifully stitched and professionally finished quilts.
Enhancing Your Quilting Skills
Quilting, like any craft, is a skill that can always be improved and refined. By dedicating time to practice your technique, learning from professional quilters, and exploring advanced quilting styles, you will take your quilting skills to the next level.
Practicing Your Technique
Practice is the key to improving any skill, and quilting is no exception. Dedicate regular time to practice your quilting technique, whether it’s stitching straight lines, perfecting curves, or mastering free motion quilting designs. Consider creating small practice projects specifically designed for skill-building, such as mug rugs or quilted pot holders. By constantly challenging yourself and pushing your boundaries, you will develop confidence and expertise in quilting.
Learning from Professional Quilters
Learning from experienced and professional quilters is an excellent way to gain insights and broaden your quilting horizons. Seek out quilting workshops, classes, or online tutorials that cover specific techniques or styles you wish to explore. Participate in quilting guilds or groups to connect with like-minded quilters and benefit from their collective knowledge and experience. By learning from professionals, you will gather valuable tips, tricks, and inspiration that will infuse new life into your quilting projects.
Exploring Advanced Quilting Styles
Once you have mastered the basics, it’s time to explore advanced quilting styles and techniques. Consider challenging yourself with projects that incorporate intricate piecing, advanced appliqué, or complex quilting motifs. Experiment with specialty tools such as rulers or templates to create unique and intricate designs. Embrace new materials, such as metallic threads or unconventional fabrics, to add texture and visual interest. By continually exploring and pushing the boundaries of traditional quilting, you will develop your own distinctive style and become a true quilting artist.
By dedicating time to practice, seeking inspiration from professionals, and embracing advanced quilting styles, you will nurture your quilting skills and unlock new creative possibilities. Quilting is a journey, and the more you invest in your craftsmanship, the more rewarding and fulfilling your quilting experience will become.
In conclusion, quilting is a delightful and rewarding craft that allows you to express your creativity, create beautiful and functional pieces, and connect with a rich heritage of textile artistry. By understanding the basics of quilting, preparing your sewing machine, choosing the right thread and needle, planning your quilt, and properly preparing your fabric, you will lay a solid foundation for your quilting journey. Assembling the quilt sandwich, sewing your quilt together, and finishing your quilt with care will ensure that your quilting projects are visually stunning and durable. By avoiding common mistakes, enhancing your quilting skills, and immersing yourself in the world of quilting, you will embark on a lifelong creative adventure that will bring joy, beauty, and warmth to your life and those around you. Happy quilting!


